
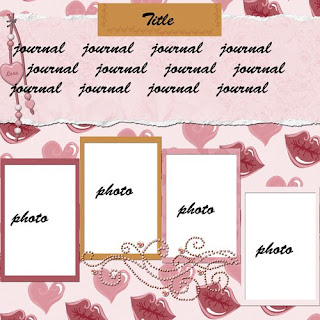
Another week ends and so a new Template freebie for you. We are up to Template 4 and instead of making a layout to show you, I have created a freebie quickpage using my part of our HUGE collab.... "Only Time". I hope you like them both,

Sorry links no longer available
Link to download PSD file here
Link to download PNG file here
Password is "create" without the quotes!
Sorry link no longer available
Link to download Quickpage here
Password to download is "sweetness" without the quotes.
Almost forgot..... head over to Pam's Blog, 'cos my GF has been at it again, and has created a fantastic freebie kit for the TSG Colour Challenge!!
have a great day wherever you are!


5 comments:
hello ,
your templates are amazing , many inspiration there , thanks a lot :-)
Thank you Caroline - great template and darling QP!
Thank you so much for this Freebie. I want to let you know that I posted a link to your blog in Creative Busy Hands Scrapbook Freebies Search List, under the Template(s), Overlay(s), Photo Mask(s) post on Feb. 08, 2009. Thanks again.
I was just wondering if you can tell me how I can get the torn edge look. The template part is not a separate layer so am unable to get the effect to work.
Hi, well I just did it two ways. First off I brought in a paper to cover the "torn paper" layer of the template. Then, using the "magic wand" I selected the torn paper layer, then went to "Select, Inverse" and then clicked on my coloured paper layer and hit "delete" on the keyboard. This gave me a coloured paper, and a white tear. You then need to merge the two layers together by using "CTRL" and clicking on both layers in the Layers palette. Then press "CTRL" and "E" on your keyboard to merge the two layers together. This will give a torn edge to your paper. The second layer is almost the same, although this time you make your paper that you drag on top of the "torn paper" layer as an "overlay" and then right click on your paper and select "create clipping mask". This will give you a torn edge to your paper that is a lighter shade of your paper. Hope this helps, and that you come back and read it after all this typing I am doing LOL
cheers, Caroline
Post a Comment