I finished the puff sleeved T-Shirt to go with the Pinafore finished yesterday. I used the Fun Tee pattern by Sew By Pattern Pieces and made a size 2. Love the way it came out and it goes well with the pinnie. Next time, for such a small size, I will sew the sleeve band on flat as it was a real fiddle to sew in the round. The pattern goes together beautifully though. Self fabric for the neckband worked really well and the instructions in the pattern are great, very thorough.
Shown here on my 2-3yr old sized mannequin.
Have a great day wherever you are!
Showing posts with label Pinafore. Show all posts
Thursday, January 10, 2019
Wednesday, January 9, 2019
Hi all, I am taking part in a Sew-A-Long for the Tui Pinafore by Below The Kowhai, a New Zealand Designer.
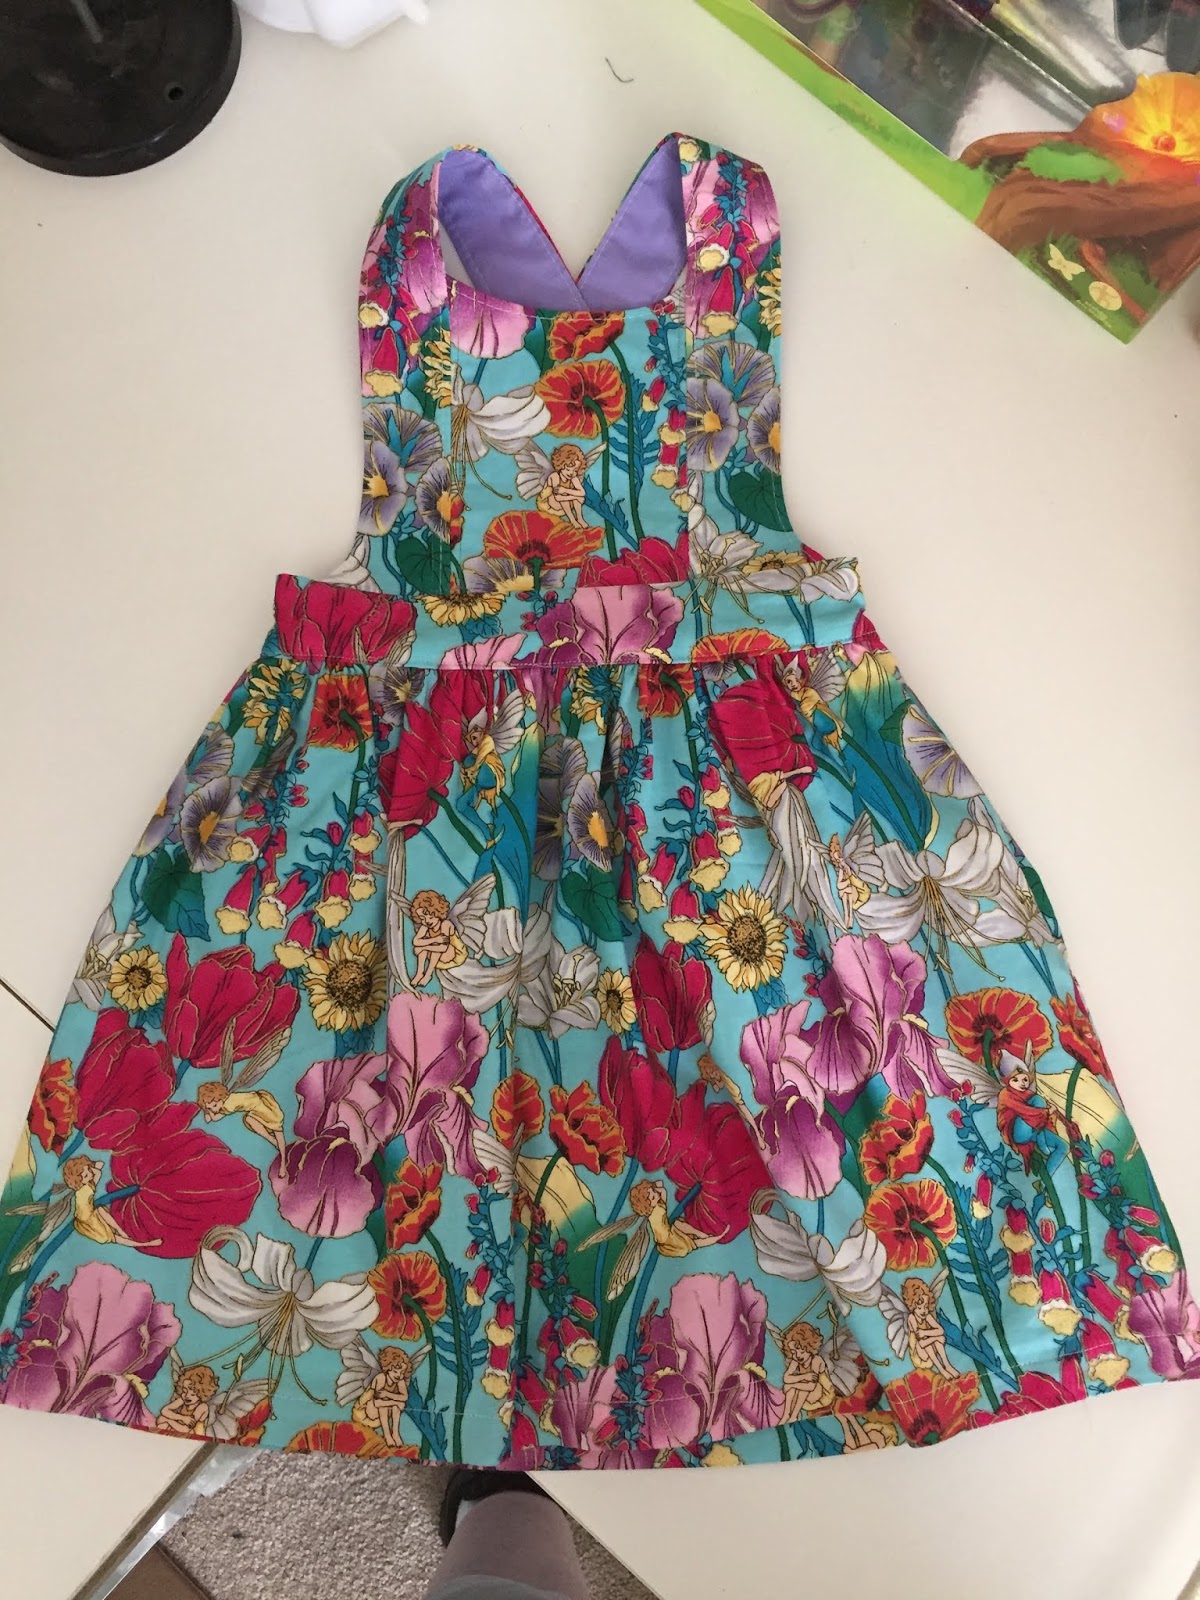
I chose a fairy fabric I have been hanging onto forever and a lilac poplin as the lining. There are several options in the pattern and I chose the curved bodice with the curved straps.
Interfacing on the bodice, straps and the front waistband
Sewn the main and the lining bodice pieces together, turned, pressed and topstitched
Added the straps to the bodice
Added the front waistband to the bodice
I had already added the back waistband piece but forgot to take a photo of this step. This step adds inseam pockets
Add elastic to the back waistband, stitch in and then close the front waistband
So I trimmed by bodice pieces with my pinking shears way too close to the seam line. When I then turned the strap linings over to stitch down, they didn't quite catch the seam from the bodice in all spots. I grabbed some bias binding from my stash, which unfortunately was not quite the right colour (although closer than this photo appears) and used it to cover over that seam line. Works well and no-one is going to be looking at the lining.
Tested for strap position on my mani
All hemmed and straps sewn down. Not sure if sewing the straps so they can't be adjusted is such a good idea, I may unpick them and use button and buttonholes yet.
I am going to add a puffed sleeved t-shirt to this in the colour of the lining, so another post on that shortly.
Have a great day wherever you are!
I chose a fairy fabric I have been hanging onto forever and a lilac poplin as the lining. There are several options in the pattern and I chose the curved bodice with the curved straps.
Interfacing on the bodice, straps and the front waistband
Sewn the main and the lining bodice pieces together, turned, pressed and topstitched
Added the straps to the bodice
Added the front waistband to the bodice
I had already added the back waistband piece but forgot to take a photo of this step. This step adds inseam pockets
Add elastic to the back waistband, stitch in and then close the front waistband
So I trimmed by bodice pieces with my pinking shears way too close to the seam line. When I then turned the strap linings over to stitch down, they didn't quite catch the seam from the bodice in all spots. I grabbed some bias binding from my stash, which unfortunately was not quite the right colour (although closer than this photo appears) and used it to cover over that seam line. Works well and no-one is going to be looking at the lining.
Tested for strap position on my mani
All hemmed and straps sewn down. Not sure if sewing the straps so they can't be adjusted is such a good idea, I may unpick them and use button and buttonholes yet.
I am going to add a puffed sleeved t-shirt to this in the colour of the lining, so another post on that shortly.
Have a great day wherever you are!
Subscribe to:
Posts (Atom)