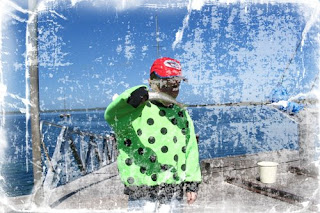
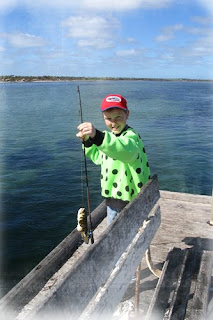
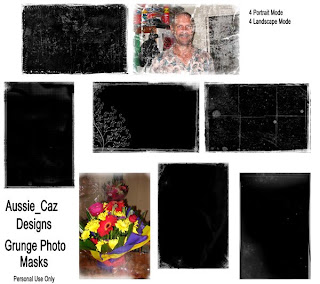
To use these masks in PS, open the mask and then place your 6"X4" photo over the top. Then, making sure your photo layer is selected, press CTRL+ALT+G (PSCS3) to clip the photo to the mask. You can also right-click on the photo layer and select "create clipping mask" which will have the same effect.
I have made a couple of examples to show you.


'

Sorry link no longer available
Link to download here
I would some opinions on these as I have never attempted anything like this before, so please leave me a comment so I know what you think of them. Thanks!
Please leave a comment here if you download as I really appreciate them all. I would also like to give a huge THANKS to those of you that have left me comments on the Blog. It is a highlight of my day to open up my Blog and see that I have had a few visitors and lots of comments have been left for me!
Have a great day wherever you are!


12 comments:
DO you know where I can find a tutorial on how to make these? I like what you have done. I have no idea how to start and love to learn how to do things for myself.
If you can help me out please let me know.
Parker315@shaw.ca
I think you did a great job with these, thanks for sharing :)
These photo masks look awesome. Thank you for sharing them. I can't wait to use them.
Thanks!---I don't know how to make masks or elements either so I really appreciate those who share their talents.
Love these masks. Thanks so much:)
MiKiko
Thank you so much for this Freebie. I want to let you know that I posted a link to your blog in Creative Busy Hands Scrapbook Freebies Search List, under the Template(s), Overlay(s), Photo Mask(s) post on Mar. 15, 2009. Thanks again.
These look great, thanks so much
These are great. Thankyou.
I just ((LOVE)) grungy masks. Thanks so much!!
Wow Great job! Thank You very much! I love these!
Thanks for these, often use shapes and masks on my layouts and they are greatly appreciated.
Thanks so much for sharing these! They are awesome! I am always looking for something like this!
Post a Comment